
Most Shopify launch disasters don’t happen because of bad design. They happen because something basic got skipped under deadline pressure: a redirect map that never got built, an app that wasn’t tested on mobile checkout, a theme that looked perfect on a 27-inch monitor and fell apart on a phone. I’ve watched well-funded brands push a launch date by three weeks because nobody checked whether their old product URLs would 404 on day one.
A Shopify development checklist is a structured set of technical, design, and operational steps that ecommerce businesses follow before, during, and after building a Shopify store to avoid launch failures, lost SEO equity, and conversion problems. It covers planning, theme and app selection, payment and shipping setup, SEO migration, testing, and post-launch monitoring.
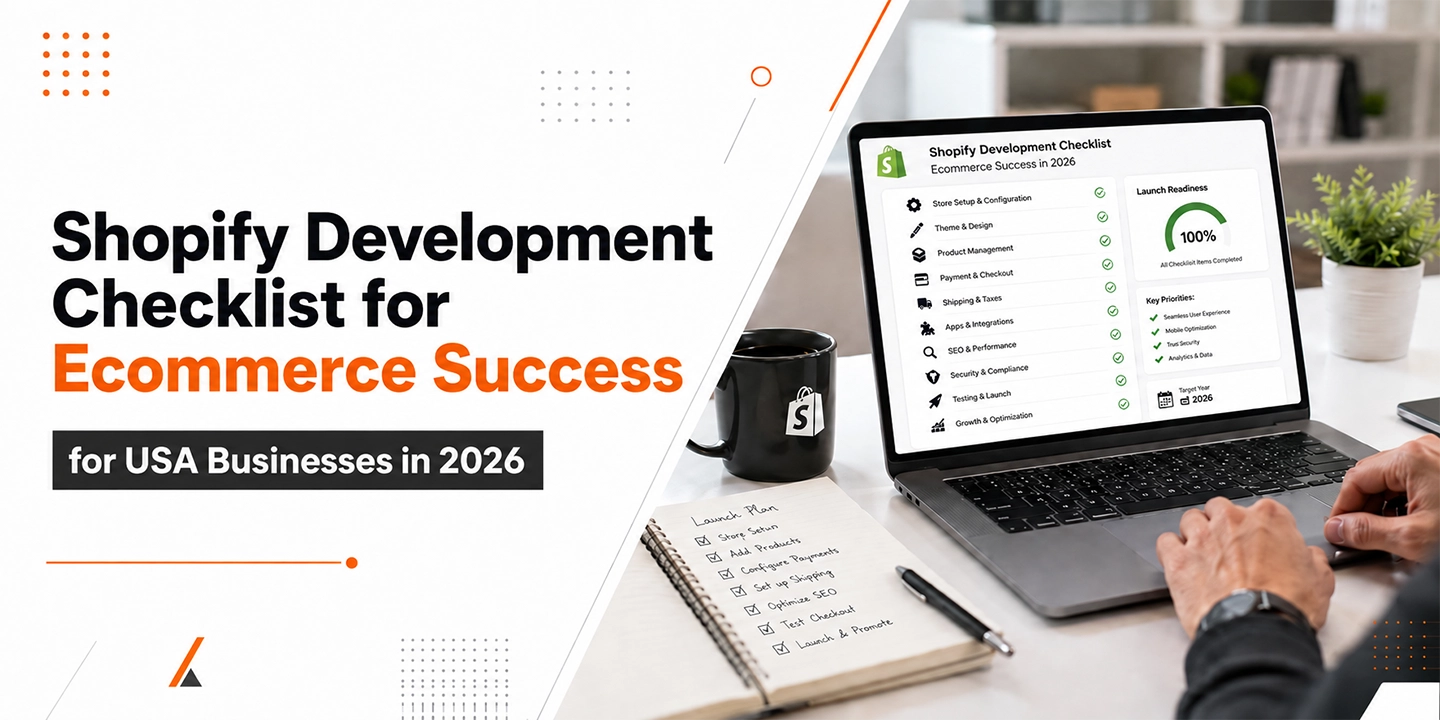
This guide walks through that checklist the way I’d actually run it for a client in 2026, with the reasoning behind each step, not just a list to skim and forget.
Why a Shopify Development Checklist Matters More in 2026
Shopify now powers a genuinely massive share of online retail, which is exactly why cutting corners is riskier than it used to be. Shopify commands roughly 30% of the US ecommerce platform market and operates in more than 175 countries, according to recent platform data compiled from Shopify’s own reporting and independent research. That scale means competition on Shopify itself has gotten sharper. You’re not just competing against other platforms anymore; you’re competing against other Shopify stores that have already figured out the basics.
The thing is, the margin for error has shrunk too. The average Shopify store converts somewhere between 1.4% and 1.8% of visitors, while stores in the top 20% hit 3.2% or higher, and the top 10% reach 4.7% or more. That gap between average and top-performing isn’t talent or budget alone; it’s almost always execution on the fundamentals: speed, mobile experience, checkout friction, and trust signals. A checklist exists precisely to close that gap before launch instead of discovering it in your analytics three months later.
Phase 1: Pre-Development Planning
Before any development work starts, you need a clear scope document covering business goals, target customer journey, required integrations, content migration plan, and launch timeline. Skipping this phase is the single biggest predictor of budget overruns and scope creep on Shopify projects.
1. Define Your Store’s Core Goals and KPIs
In most cases, businesses jump straight to picking a theme without agreeing on what success actually looks like. Are you optimizing for average order value, repeat purchase rate, or new customer acquisition cost? Each of those goals points toward different development priorities. A subscription-heavy brand needs different checkout logic than a one-time gift retailer.
2. Audit Your Existing Store (If Migrating)
If you’re moving from another platform, document every URL that currently ranks, every redirect rule you’ll need, and every piece of content with backlinks pointing to it. One thing many businesses overlook here: product reviews, blog content, and category pages often carry more SEO equity than the homepage, and losing that equity during migration is one of the most common, and most avoidable, mistakes I see.
3. Map Your Tech Stack Requirements
List every system that needs to talk to Shopify: ERP, accounting software, email marketing, loyalty programs, POS, and fulfillment. From my experience, this step alone often changes the theme or plan tier decision, because some integrations need API access that isn’t available on every Shopify plan.
4. Set a Realistic Budget and Timeline
A basic Shopify build with a premium theme typically takes 3-6 weeks. A custom build with multiple integrations runs 8-16 weeks. Headless or Shopify Plus enterprise builds can take 4-9 months. Padding your timeline by 15-20% for unexpected scope is standard practice among experienced agencies, not a sign of poor planning.
Phase 2: Shopify Plan and Theme Selection
Choosing the right Shopify plan depends on your sales volume, need for advanced reporting, and whether you require Shopify Plus features like script editing or custom checkout. Most new merchants start on Basic or Shopify, while businesses processing over $1M annually typically move to Shopify Plus for lower transaction fees and enterprise tooling.
Shopify Plan Comparison (2026)
| Plan | Monthly Cost | Best For |
| Basic | $39/mo | New stores, single staff account |
| Shopify | $105/mo | Growing stores, multiple staff |
| Advanced | $399/mo | Scaling stores, advanced reporting |
| Plus | Custom (from ~$2,300/mo) | High-volume, enterprise, B2B |
5. Choose Between a Pre-Built Theme and Custom Design
A pre-built theme from the Shopify Theme Store works well for most catalogs under a few hundred SKUs with standard merchandising needs. Custom design earns its cost when your brand identity, product complexity, or unique checkout flow genuinely requires it. Shopify currently maintains over 1,000 different themes being actively tracked across live stores, which tells you the pre-built route is the default for a reason. It’s proven, fast, and far cheaper than starting from scratch.
6. Prioritize Mobile-First Design From the Start
You’ll notice that mobile isn’t a secondary consideration anymore, it’s the primary one. Mobile commerce now represents the majority of ecommerce traffic across most verticals, and a theme that wasn’t actually tested on real mobile devices (not just resized in a browser) will quietly bleed conversions. That’s where things change between a store that looks fine and one that actually performs: real device testing on iOS and Android, not just responsive breakpoints in a design tool.
7. Build Your Information Architecture Before Touching Design
Navigation, category structure, and filtering logic should be mapped out before a single page gets built. Stores with confusing navigation force visitors to use search as a workaround, and search abandonment is a quiet conversion killer that rarely shows up until you dig into session recordings.
Phase 3: Core Development Checklist
This is the section most “Shopify checklist” articles gloss over, so I’m going to be specific about what actually needs verification before you call something done.
8. Theme and Liquid Customization
Whether you’re using a stock theme or custom Liquid development, confirm that product pages, collection pages, cart, and checkout (where customizable) all render correctly across breakpoints. Test variant selectors with products that have 3+ option types, since this is where a surprising number of themes break.
9. App Selection and Stack Discipline
The Shopify App Store now hosts more than 13,000 apps, covering everything from inventory management to AI-powered personalization. The temptation is to install everything that looks useful. Don’t. Top-performing Shopify stores tend to run a lean stack, typically averaging around 6 apps, because every additional app is another script potentially slowing your page load and another point of failure during checkout. Pick apps that solve a specific, named problem, not ones that sound helpful in the abstract.
10. Payment Gateway Setup and Testing
Shopify Payments is used by roughly 90% of merchants on the platform, largely because it avoids the additional transaction fees charged when using third-party gateways. If you’re using Shopify Payments, test every supported payment method (credit card, Shop Pay, accelerated checkouts) in a sandbox order before launch. Shop Pay specifically has been shown to increase conversion by up to 50% for merchants who enable it, which makes it one of the highest-leverage, lowest-effort items on this entire checklist.
11. Shipping Rules and Tax Configuration
Set up shipping zones, rates, and tax rules with actual test orders from different states and, if relevant, countries. Tax misconfiguration is one of those problems that doesn’t surface until a customer or your accountant flags it weeks later, by which point you’re dealing with refunds and corrections instead of a five-minute fix.
12. Inventory and Fulfillment Sync
If you’re connecting Shopify to a third-party fulfillment center, warehouse system, or multi-location inventory, test the sync under load, not just with a single test product. I’ve seen sync logic that worked perfectly for one SKU fail silently once a few hundred variants were involved.
13. Speed and Performance Optimization
Page speed is both a conversion factor and a ranking factor. Compress images before upload rather than relying entirely on Shopify’s automatic optimization, lazy-load below-the-fold content, and audit app scripts specifically for load time impact. A theme that scores well on Lighthouse before apps are installed can drop significantly once five or six apps inject their own scripts.
Phase 4: SEO and Content Migration
A Shopify SEO migration checklist should include 301 redirects for every old URL with traffic or backlinks, preserved metadata, structured data implementation, and a pre-launch sitemap submission to Google Search Console. Skipping redirects is the most common cause of post-migration traffic loss.
14. Build a Complete Redirect Map
Every URL that currently has organic traffic, backlinks, or indexed status needs a corresponding redirect to its new Shopify URL. This is tedious work and it’s exactly the kind of task that gets rushed under deadline pressure, which is precisely why it causes the most damage when it’s wrong.
15. Preserve and Optimize Metadata
Title tags, meta descriptions, and header structure should carry over with intent preserved, even if the underlying URL structure changes. Don’t treat a platform migration as a free pass to rewrite everything at once. Changing URLs and metadata simultaneously makes it much harder to diagnose what caused a ranking shift if something goes wrong.
16. Implement Structured Data
Product schema, breadcrumb schema, and organization schema should be implemented at the theme level, not bolted on through an app as an afterthought. Clean structured data is also increasingly relevant for how AI search tools and shopping assistants parse and surface product information, which matters more in 2026 than it did even two years ago.
17. Submit Sitemaps and Monitor Indexing
Submit your new sitemap to Google Search Console before launch, and monitor indexing status closely for the first two weeks post-launch. Catching a crawl error in week one is a quick fix. Catching it in week six, after rankings have already dropped, is a much longer recovery.
Phase 5: Pre-Launch Testing Checklist
Pre-launch testing should cover checkout flow completion across devices, payment processing in test mode, form submissions, third-party app functionality, page speed benchmarks, and cross-browser rendering. A staging environment test pass is non-negotiable, regardless of how small the store is.
18. Run Full Checkout Tests on Every Device Type
Place actual test orders, not just visual walkthroughs, on desktop, mobile, and tablet. Test with different payment methods, with and without a discount code, and with both a logged-in account and guest checkout if both are offered.
19. Test Every Form and Integration Point
Newsletter signups, contact forms, and any custom forms tied to apps need a real submission test, confirming the data actually lands where it’s supposed to. A broken form that silently fails (no error message, just data going nowhere) can run for months before anyone notices.
20. Cross-Browser and Accessibility Check
Test in Chrome, Safari, and Firefox at minimum, and run an accessibility audit covering color contrast, alt text, and keyboard navigation. Accessibility isn’t just a compliance consideration anymore, it directly affects how much of your addressable audience can actually complete a purchase.
21. Load Testing for High-Traffic Events
If you’re planning for a product drop, seasonal sale, or paid campaign launch, test how your store and apps behave under simulated traffic spikes. Shopify merchants generated $14.6 billion in sales during Black Friday Cyber Monday 2025 alone, with peak sales reaching $5.1 million per minute platform-wide, which gives you a sense of just how much concentrated traffic the platform’s biggest stores handle in short windows. Your store doesn’t need that scale to benefit from the same testing discipline.
Phase 6: Launch Day Checklist
On launch day, confirm DNS propagation, remove password protection, verify analytics and pixel tracking are firing correctly, and monitor server response and checkout completion in real time for the first several hours. Have a rollback plan ready in case a critical issue surfaces.
22. Verify Analytics and Tracking Before Going Live
Confirm Google Analytics, Meta Pixel, and any other tracking scripts are firing correctly using a real-time debugging tool, not just assuming the installation worked because the code is present in the theme. A pixel that’s technically installed but misconfigured gives you false confidence and bad data for weeks.
23. Monitor the First 24-48 Hours Closely
Watch checkout completion rates, error logs, and customer support inquiries closely in the first two days. Honestly, this is the phase where most teams relax too early. The first 48 hours surface issues that didn’t appear in staging because real customers behave differently than test orders.
Phase 7: Post-Launch Optimization
Post-launch optimization is an ongoing process, not a one-time task, and should include monthly conversion rate review, quarterly app stack audits, continuous page speed monitoring, and regular A/B testing of high-traffic pages.
24. Set Up Conversion Rate Monitoring
Track conversion rate by device, traffic source, and landing page on a recurring basis. A store converting well on desktop but poorly on mobile has a different problem than a store with a checkout abandonment issue across all devices, and the fix for each is completely different.
25. Audit Your App Stack Quarterly
Apps that seemed essential at launch sometimes stop earning their keep. A quarterly review of what’s installed, what’s actually being used, and what’s contributing to page load time keeps your store from accumulating the kind of bloat that slows everyone down without anyone noticing exactly when it started.
26. Keep Testing Checkout and Mobile Experience
The average online shopping cart abandonment rate sits at 70.19%, based on Baymard Institute’s analysis of dozens of studies, with extra costs like shipping and taxes cited as the leading reason shoppers abandon. That number isn’t going to hit zero, but ongoing checkout testing and transparent pricing display can meaningfully chip away at it over time.
Common Shopify Development Mistakes to Avoid
In most cases, the mistakes that hurt the most aren’t exotic technical failures, they’re predictable oversights that a checklist would have caught.
- Skipping redirect mapping during migration, which costs accumulated SEO equity that can take months to rebuild
- Installing apps without testing their impact on page speed, especially apps that inject scripts into checkout
- Treating mobile as a secondary design pass instead of the primary experience
- Launching without a rollback plan, leaving no clear path if something breaks publicly
- Underestimating tax and shipping configuration time, which often takes longer than the theme build itself
- Not testing checkout with real payment methods before launch, only relying on visual review
Shopify Plus vs. Standard Shopify: When Development Needs Change
Shopify Plus becomes worth the higher cost when a business processes over roughly $1M in annual sales, needs custom checkout scripting, requires B2B functionality, or manages multiple storefronts from one back end. Below that threshold, standard Shopify plans typically cover development needs more cost-effectively.
Enterprise adoption of Shopify Plus has grown notably, with the platform now powering over 47,000 live websites on Plus as of 2026, up from roughly 25,000 in 2022, driven largely by brands migrating from legacy platforms like Magento and Salesforce Commerce Cloud seeking lower total cost of ownership. If your business is approaching that scale, the development checklist shifts to include custom checkout extensions, B2B portal configuration, and multi-location/multi-currency setup, none of which are available or necessary on standard plans.